 EN
EN  English
 русский
 中文简体
中文简体
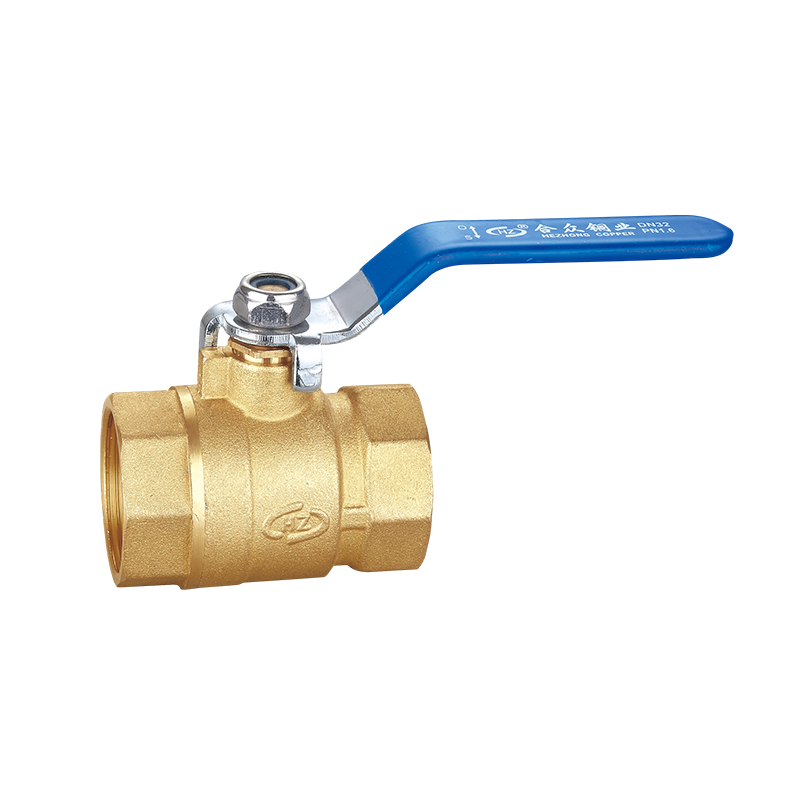
This brass ball valve is built for water lines, HVAC loops, and compressed air systems whe...


Application Industry
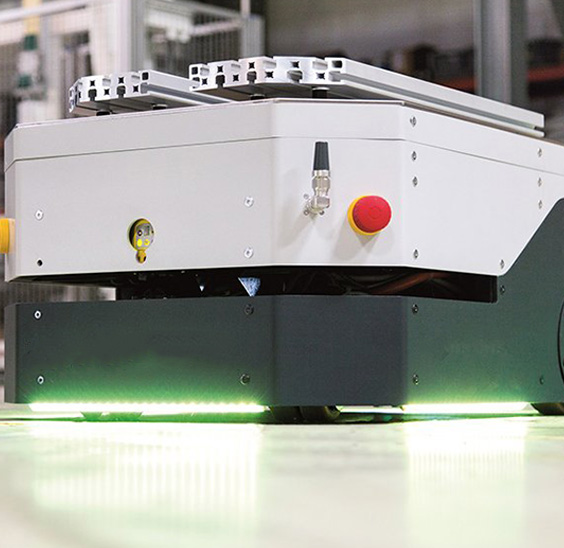
AGV

Automated robots
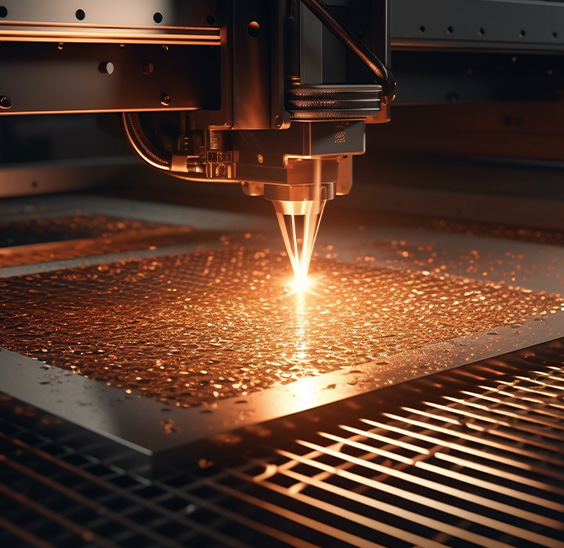
laser cutting

Logistics sorting

Photovoltaic power-station
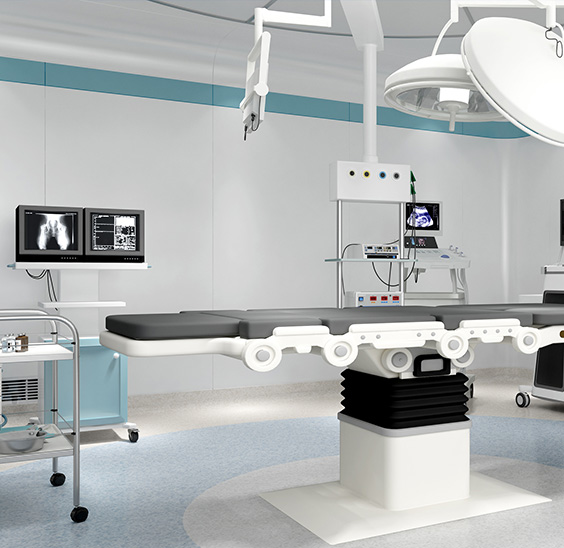
Medical devices
What Tips Help Install Thermostatic Heating Valve
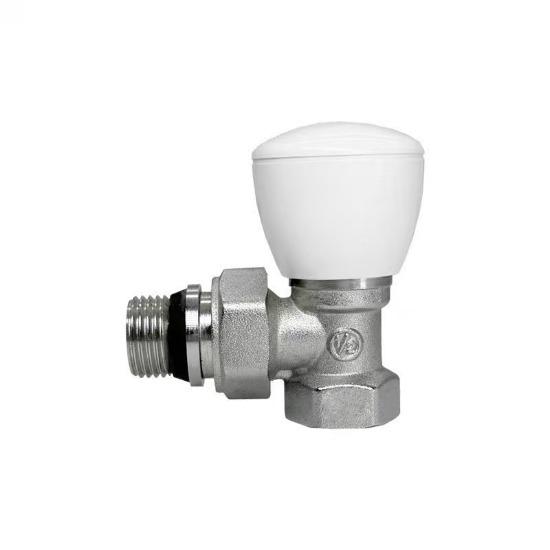
A heating valve may look like a small part of a heating system, yet its installation position and connection condition can affect how comfortably the system operates. A Thermostatic Heating Valve needs to respond to changes around the heating area, so installation involves more than attaching a valve to a pipe.
Problems often start during simple preparation work. A dirty connection surface, unsuitable position, restricted adjustment space, or incorrect valve direction can create trouble after the heating system returns to normal operation. Careful installation helps avoid unnecessary adjustment later and makes inspection easier when the system is in use.
What Should Be Checked Before Installing a Thermostatic Heating Valve?
Preparation should begin with the valve and the existing pipework. A quick inspection can identify visible damage, dirt, loose parts, or other conditions that may interfere with installation. Checking the valve before connection is easier than looking for a cause after the system has been put back into service.
Pipe connections also need attention. Old pipes may contain dirt or residue around the connection area, while recently installed pipes can carry small pieces of material left from cutting or fitting work. Cleaning the relevant area helps create a more suitable connection.
A practical preparation check can include:
- Inspect the valve body for visible damage.
- Check connection surfaces for dirt or unwanted material.
- Make sure the pipe ends are in a suitable position.
- Confirm that the valve matches the planned connection.
- Prepare tools that fit the connection without damaging the valve.
System condition matters during installation as well. Work should be carried out under safe conditions, with the heating system prepared according to the applicable installation requirements. Hot water, pressure, or residual heat inside a pipe can make installation difficult and may also affect the condition of connection parts.
Another useful step involves checking the available working space. A valve may fit physically into a pipe section while leaving little room for adjustment or later inspection. Looking at the surrounding area before installation gives a clearer idea of whether the planned position is practical.
Where Should a Thermostatic Heating Valve Be Installed?
Position has a direct relationship with temperature control. A Thermostatic Heating Valve needs to sense the surrounding conditions in a way that reflects the heating area. A location exposed to unusual heat or cold may affect the valve's response.
For example, a valve placed very close to another heat source may experience a warmer environment than the room itself. A cold draft near a window or doorway can create a different reading from the general room condition. Furniture and decorative coverings can also restrict air movement around the valve.
Installation planning should therefore consider the space around the heating equipment rather than only the pipe connection.
A suitable location generally needs:
- Enough room for the adjustment control to move.
- Reasonable exposure to surrounding room air.
- Protection from unnecessary external heat.
- No furniture pressing against the adjustment part.
- Convenient access for later inspection.
Room layout can change after a heating system has been installed. A valve that is easy to reach during construction may later sit behind a cabinet, curtain, cover, or other object. Such arrangements can make adjustment inconvenient and may also influence the local temperature around the valve.
Pipe routing can limit installation choices, yet the valve should not be placed in an awkward position simply to make pipe connection easier. A little planning before fitting can prevent access problems later.
How Does Valve Direction Affect Installation?
Valve direction should be checked before connection rather than after the pipework has been fixed. Many heating valves have a direction marking on the body, and the marking provides a useful reference during installation.
A valve installed against the intended flow direction may not operate as expected. Even when the connection appears physically correct, the internal working arrangement can be affected by an incorrect orientation.
Direction checking is simple, so it should form part of the normal installation process. Before tightening or fixing the connection, the installer can compare the valve marking with the planned pipe direction.
A few points deserve attention:
- Check the marking Locate the direction indicator on the valve body before installation.
- Look at the pipe route Follow the actual direction of the connected pipe rather than relying on memory.
- Check the control position Make sure the adjustment part remains in a usable position after the valve is turned into place.
- Recheck after connection Pipe movement during installation can change the final orientation.
Correct orientation also helps later inspection. A clearly positioned valve is easier to identify and adjust, especially in a crowded heating area.
What Can Cause Problems During Pipe Connection?
Pipe connection is another area where small installation errors can create lasting trouble. A valve should connect naturally with the pipe rather than being used to force two poorly aligned sections into place.
Misaligned pipes may place unnecessary pressure on the valve. During fitting, an installer may notice that the connection does not line up and attempt to correct the position by pulling or pushing the valve. Such force can affect the connection area and may leave unwanted stress after installation.
Pipe position should be corrected before final connection whenever practical. Both ends need to sit in a suitable relationship with the valve so that connection work does not depend on excessive force.
Connection surfaces also need to remain clean. Dirt trapped between joining surfaces can affect sealing, while damaged threads or connection parts may make fitting less stable.
| Installation Point | Condition to Check | Possible Concern |
| Pipe alignment | Pipe ends meet naturally | Unnecessary force on the valve |
| Connection surface | Clean and free from debris | Poor sealing condition |
| Valve position | Control remains accessible | Difficult adjustment |
| Connection parts | No visible damage | Loose or uneven connection |
| Final orientation | Direction remains correct | Incorrect operating condition |
Care during connection does not mean adding complicated procedures. Much of the work involves keeping the pipe, valve, and connection area in a suitable position before tightening begins.
Once the connection has been completed, a visual inspection can reveal obvious problems such as uneven positioning, damaged parts, or a control that has become difficult to move. Checking at this stage is easier than waiting until the heating system is fully operating.
Installation quality comes from several small details working together. Proper preparation creates a clean starting point, a sensible location keeps the control accessible, correct direction supports the intended operation, and careful pipe connection reduces unnecessary stress around the valve. Further attention is needed after fitting, particularly when adjustment and operating conditions are checked.
How Should the Thermostatic Heating Valve Be Adjusted After Installation?
Once connection work is complete, adjustment should not be rushed. A newly installed Thermostatic Heating Valve needs to be checked for smooth movement before regular heating operation continues. A control that feels unusually tight, loose, or restricted may indicate a problem around the installation position.
Adjustment can start from a normal working position and then be changed according to the heating conditions of the room. Large changes made repeatedly can make it harder to judge how the heating system is responding, especially during the initial inspection.
Movement of the adjustment control deserves attention. A properly positioned control should remain accessible and should not rub against nearby surfaces. Furniture, covers, curtains, or other objects can interfere with operation after installation, even when the valve itself has been fitted correctly.
A simple post-installation check can include:
- Turn the adjustment control carefully through its usable range.
- Check for unusual resistance or loose movement.
- Make sure nearby objects do not block operation.
- Observe whether heating conditions change after adjustment.
- Leave the control in a suitable position for normal use.
Adjustment should also match the conditions of the heating system. A valve cannot compensate for every problem elsewhere in the pipework or heating equipment. Unusual temperature changes may require inspection of the wider system rather than repeated movement of the valve control.
Can Poor Installation Affect Temperature Control?
Temperature control depends on more than the valve connection alone. Position, surrounding air movement, nearby heat sources, and the condition of the heating equipment can all influence how a thermostatic valve responds.
A valve located beside a strong heat source may sense a warmer area than the rest of the room. A position affected by a cold draft can create the opposite situation. Furniture placed directly around the control can also limit air movement and make the surrounding conditions less representative.
For that reason, installation should consider the environment around the valve.
| Installation Condition | Possible Influence | Check During Installation |
| Nearby heat source | Local temperature may differ | Review surrounding equipment |
| Restricted airflow | Temperature response may change | Keep the area reasonably open |
| Furniture near control | Adjustment may be difficult | Check clearance |
| Poor connection | Heating operation may be affected | Inspect the joint |
| Incorrect orientation | Valve may not work as intended | Recheck body marking |
Room use can change after installation as well. A cabinet or decorative cover added later may surround the valve and alter its local conditions. Keeping the adjustment area accessible helps maintain a more consistent operating environment.
Temperature control should therefore be considered together with installation location. A valve placed correctly and connected securely has a more suitable starting condition for later adjustment.
What Common Installation Mistakes Should Be Avoided?
Many installation problems come from simple oversights rather than complicated technical failures. A valve may be attached to the correct pipe while another part of the installation has been overlooked.
One common mistake is ignoring the direction marking. Another involves forcing an uneven pipe connection into position. Dirt left around the joining area can also interfere with sealing, while excessive force during installation may damage connection parts.
Limited working space creates another concern. A valve installed behind a fixed object may work during the initial test and become difficult to adjust during daily use.
Several habits are worth avoiding:
- Installing without checking the valve direction.
- Using the valve to correct poorly positioned pipes.
- Leaving dirt around connection surfaces.
- Tightening connections with unnecessary force.
- Blocking the adjustment area with nearby objects.
- Returning the system to normal operation without a final check.
Skipping the final inspection can make small installation errors harder to identify. Once the heating system is operating normally, unusual temperature changes may be mistaken for a system problem rather than an installation issue.
What Should Be Checked After Installing the Valve?
A final inspection provides a chance to review the complete installation before regular operation continues. Attention should cover both the valve and its immediate surroundings.
Connection areas should be checked for visible leakage or signs of movement. Valve orientation should be confirmed again, particularly when pipework has been adjusted during installation. Adjustment movement should also feel normal, with no nearby object restricting the control.
A practical inspection can follow the installation order:
- Connection Check that the valve and pipe remain securely joined.
- Position Confirm that the valve has not shifted during connection or adjustment.
- Control Make sure the adjustment part can be operated without obstruction.
- Surroundings Check for furniture, covers, heat sources, drafts, or other conditions that may affect operation.
- Heating response Observe whether changes in adjustment correspond with the expected change in heating conditions.
Inspection becomes easier when the installation area remains accessible. Covering or enclosing the valve immediately after connection can make later checking unnecessarily difficult.
Why Is Careful Installation Important for a Thermostatic Heating Valve?
A Thermostatic Heating Valve is connected to a larger heating system, so installation quality depends on several parts working together. Pipe alignment, connection condition, valve orientation, operating space, and surrounding temperature conditions all have a place in the final result.
Good installation practice does not require complicated procedures. Careful preparation, sensible positioning, gentle connection work, and a final operating check can prevent many avoidable problems.
Attention after installation also matters. A valve may appear correctly fitted while the surrounding environment limits temperature response or adjustment access. Checking actual operating conditions provides a clearer picture than relying only on the appearance of the connection.
For heating systems where thermostatic control is required, installation should therefore be treated as part of normal system preparation rather than a simple fitting task. Small details around the valve can influence daily adjustment, room comfort, and the ease of later maintenance.
Related products
-
-
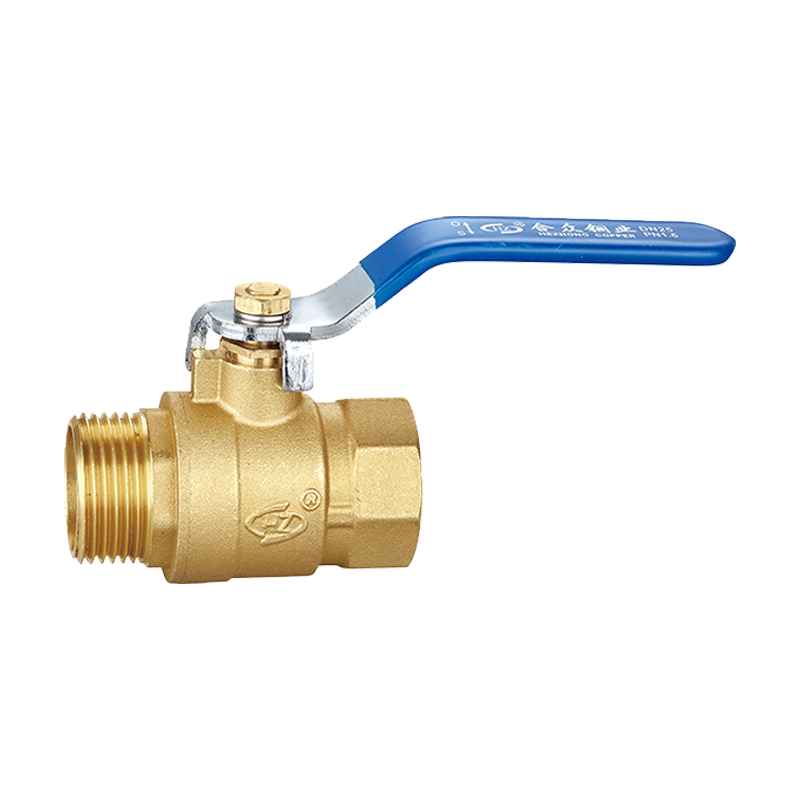 Male Thread Brass Ball Valve for Water & HVAC Systems
This male thread brass ball valve is made of national standard forged brass with RP male t...
-
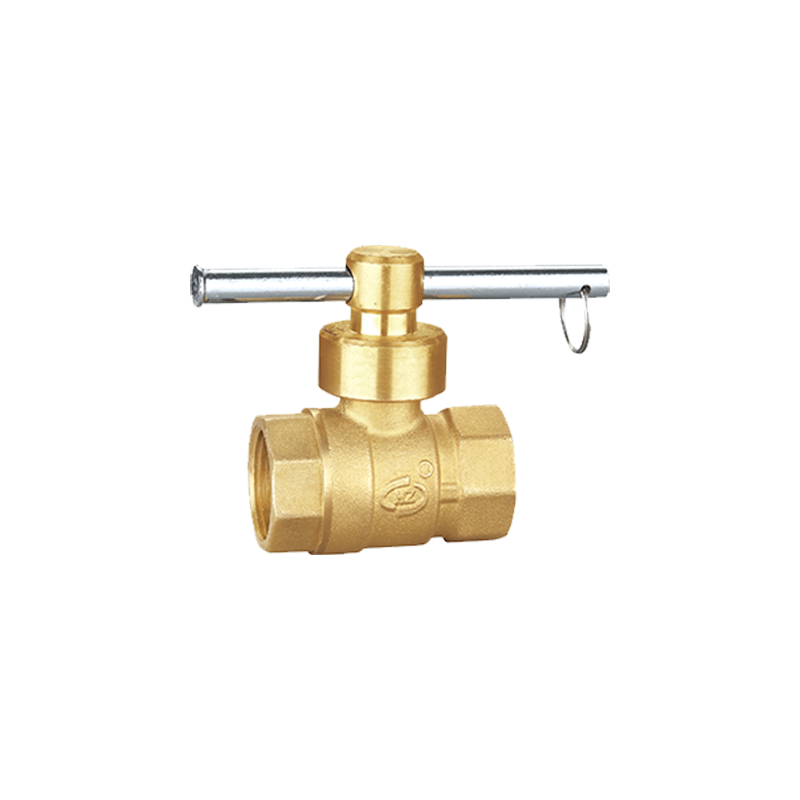 One‑Word Magnetic Lock-Off Ball Valve
This is One‑Word Magnetic Lock‑Off Ball Valve of the Water Utilities Series. It is integr...
-
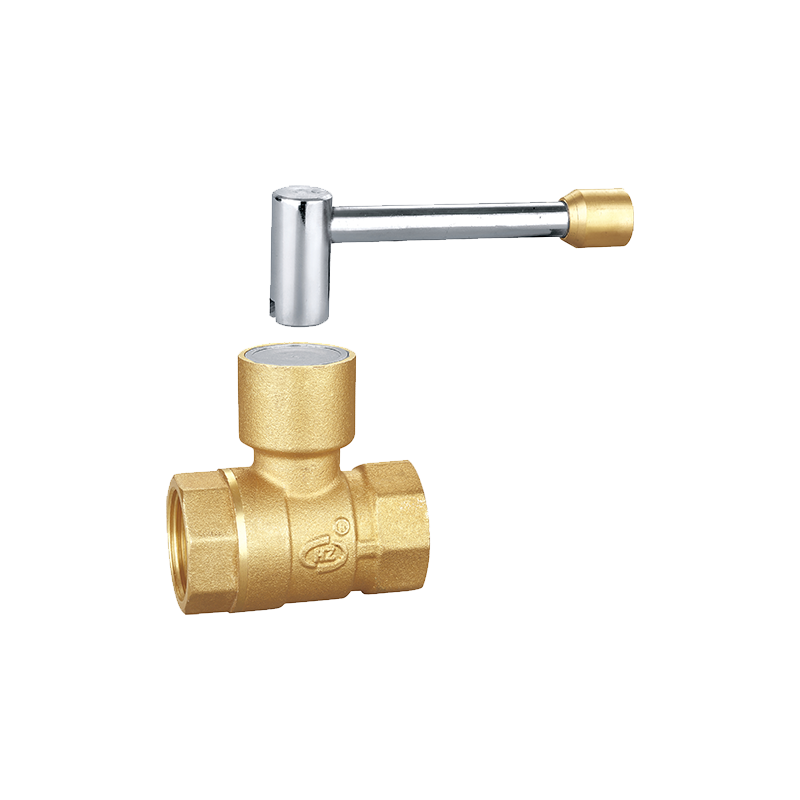 Brass Magnetic Lock-Off Ball
This brass magnetic lock‑off ball valve has a high‑quality forged brass valve body with st...
-
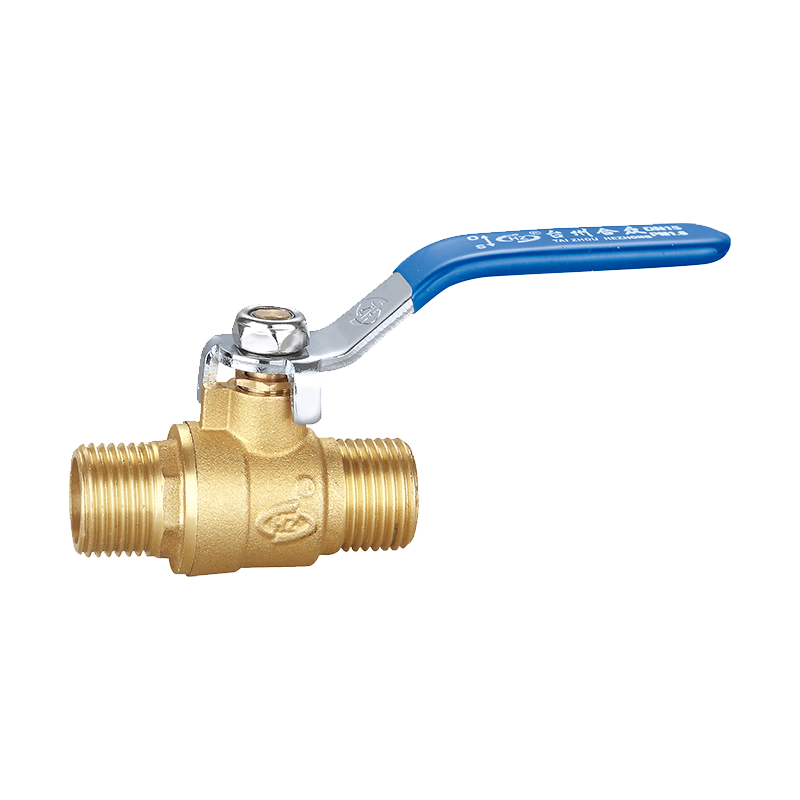 Double Male Brass Ball Valve for Water & HVAC Systems
Double male brass ball valve features male threads on both ends for direct in-line connect...
-
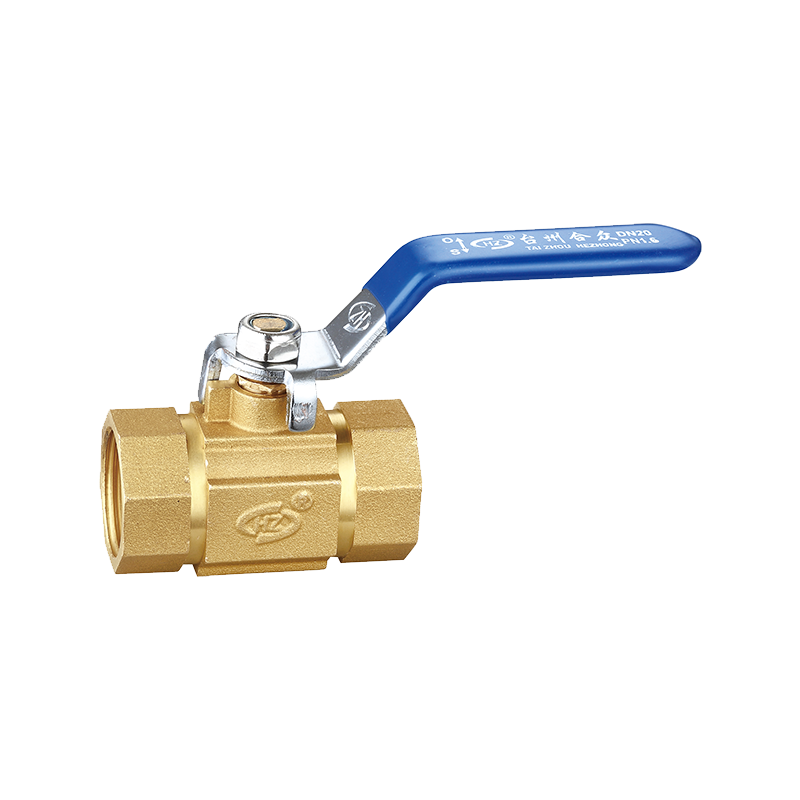 Square Body Ball Valve
This square body ball valve is integrally forged from high‑quality brass. Its square‑shape...
-
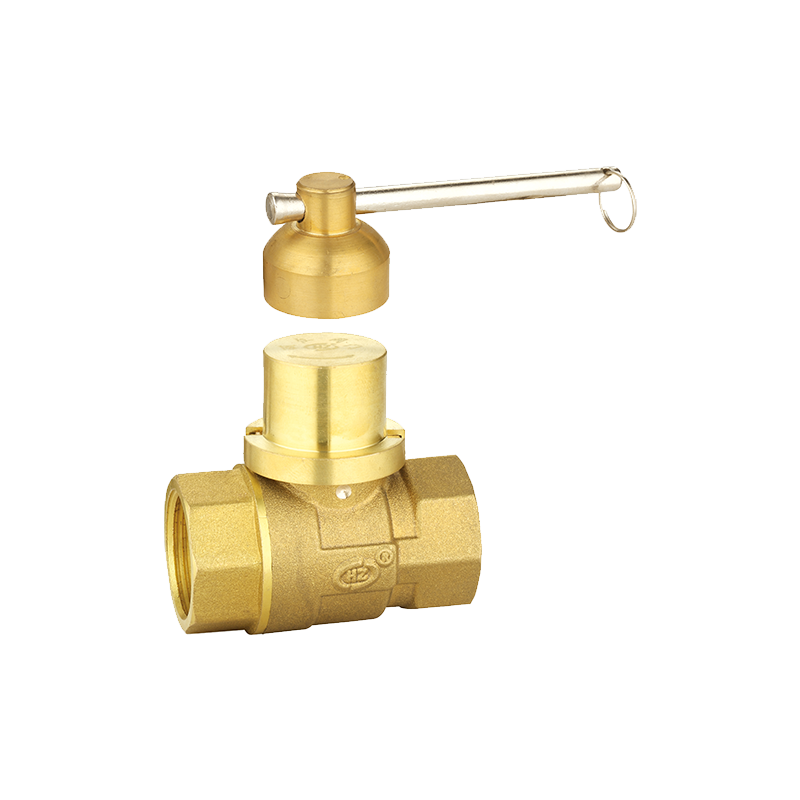 Magnetic Ball Valve for Front of Water Meter
Forged metal tee fitting with M30 loose nut for gas meter inlet connection, double 1/2" ma...
-
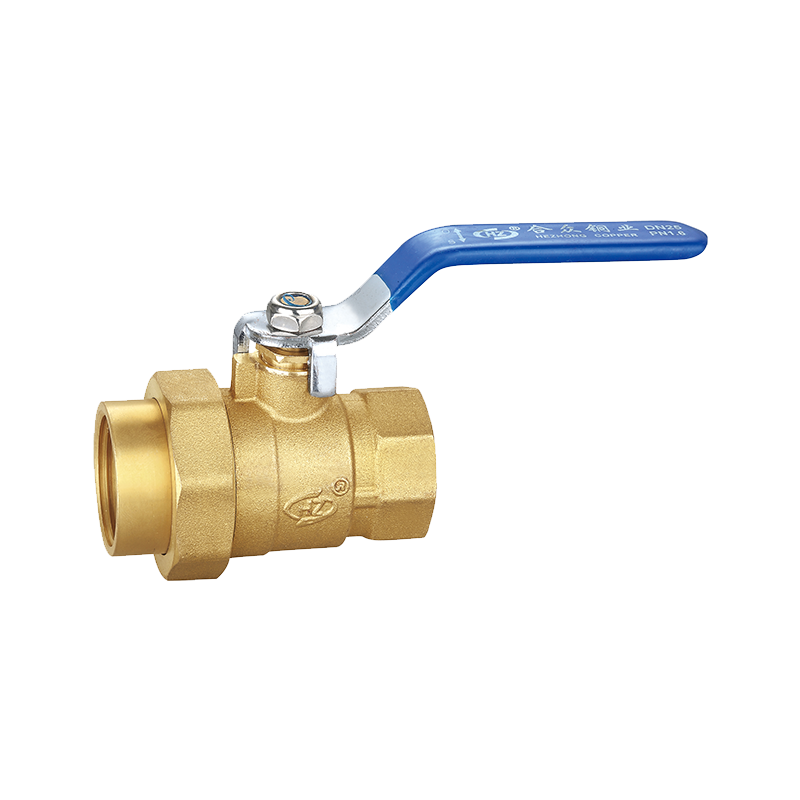 Female Thread Union Brass Ball Valve
This female thread union brass ball valve is made of high-quality brass. It has female thr...
-
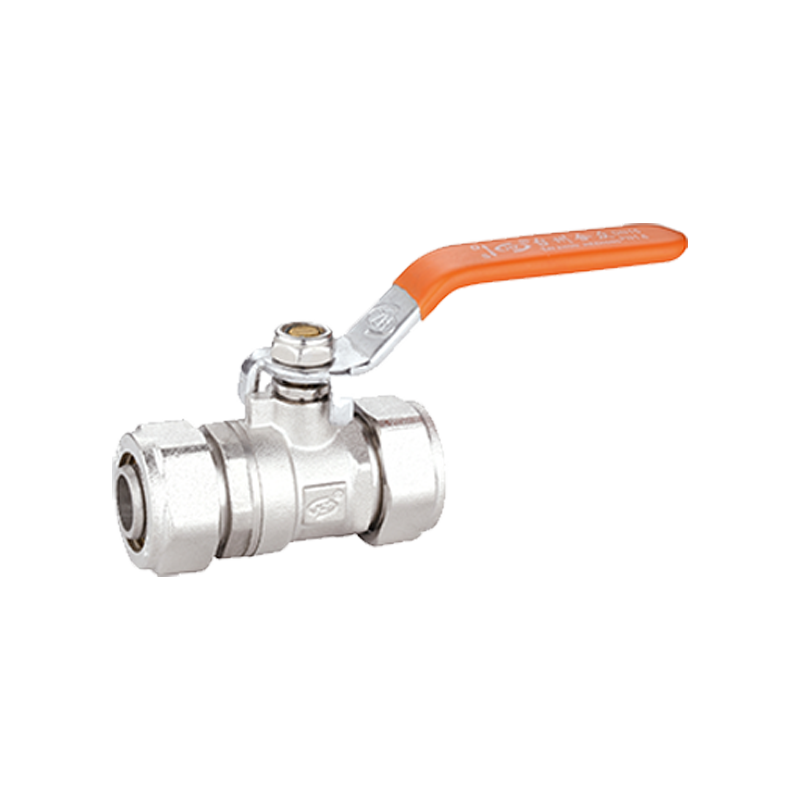 Brass Compression Ball Valve for PEX-AL-PEX Pipe
Brass Compression Ball Valve is forged from high‑quality brass, featuring high‑strength va...
-
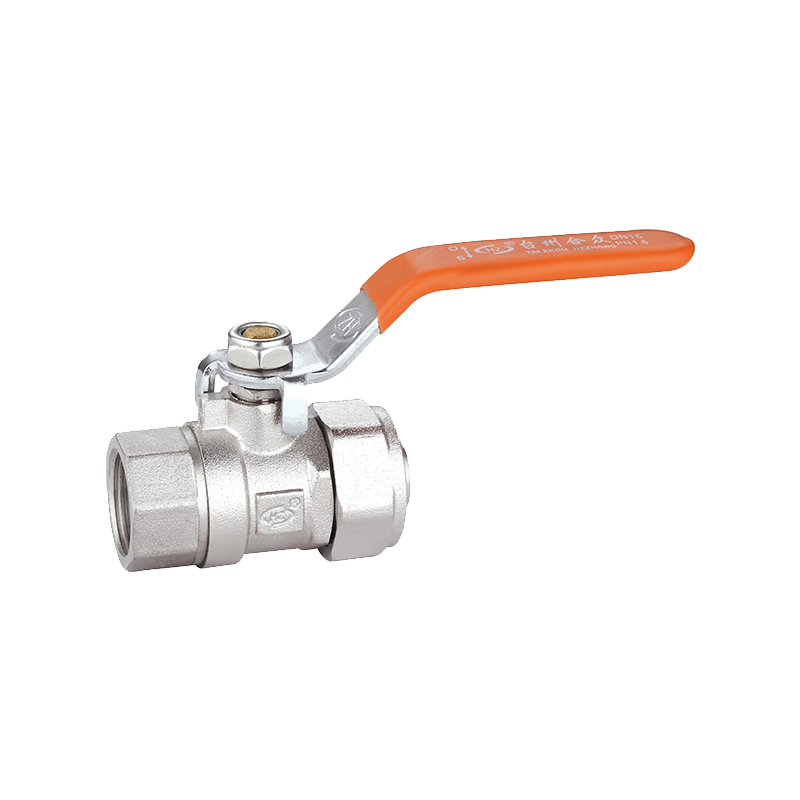 Female-Thread-Brass Compression Ball Valve for PEX-AL-PEX Pipe
This ball valve features a compression connection on one end and a female thread on the ot...
-
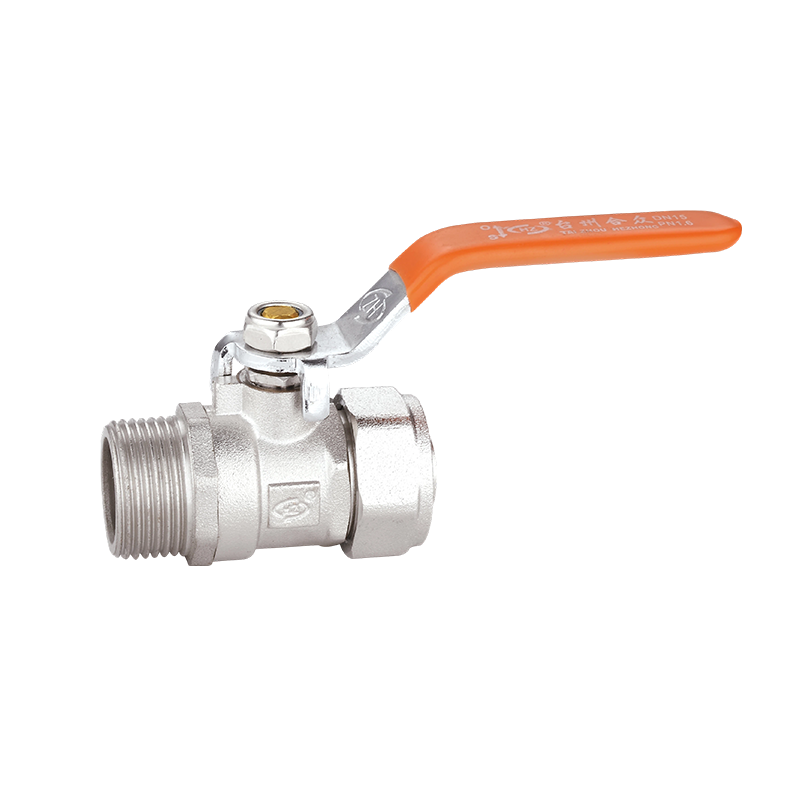 Male-Thread-Brass Compression Ball Valve for PEX-AL-PEX Pipe
This brass compression ball valve is made for PEX-AL-PEX pipe. Connecting different pipe m...
-
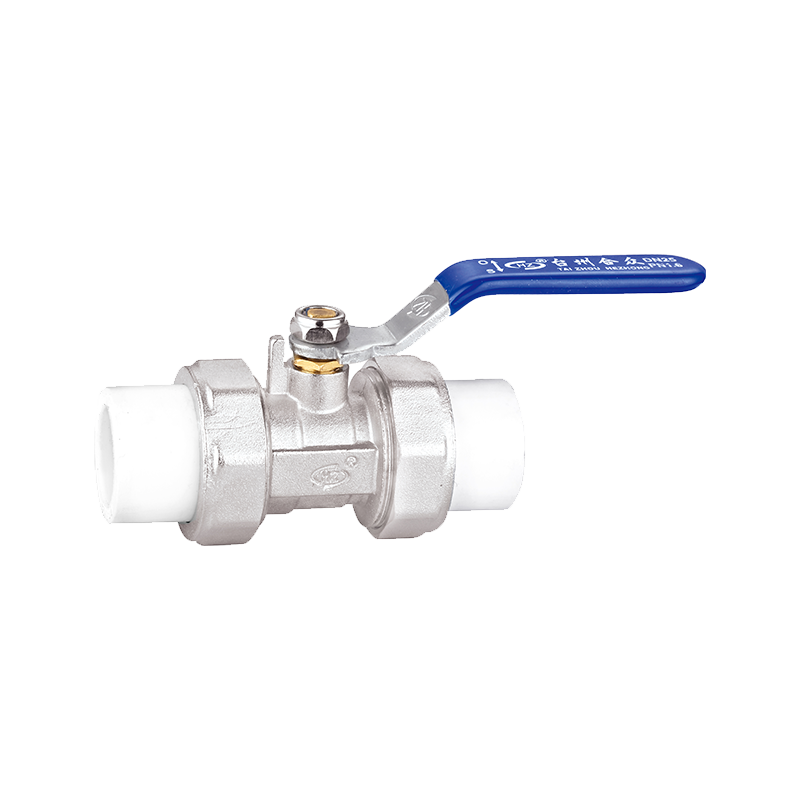 PPR Double Union Ball Valve
This PPR ball valve features a double‑union structure, compatible with hot‑melt connection...
CONTACT DETAILS
- TEL: +86-18158607688
- E-mail: [email protected]
- Address: Zhongshan Industrial Zone, Chumen Town, Yuhuan City, Taizhou, Zhejiang Province, China
